Last updated on September 21st, 2023 at 01:39 am
Last updated by Maredith Damasco
The thrill of disc golf lies in making precise throws and scoring as desired. Consistent improvement comes from regular practice on the course and in the field, or even at home with your own disc golf basket.
But how do you make your own disc golf basket? What are the materials you need to do-it-yourself disc golf baskets right in the comforts of your home? These two questions and other queries on building a disc golf basket will be answered in this article. We will provide information to equip disc golfers with the proper knowledge to create a disc golf basket the right way.
How to Make a Portable Disc Golf Basket
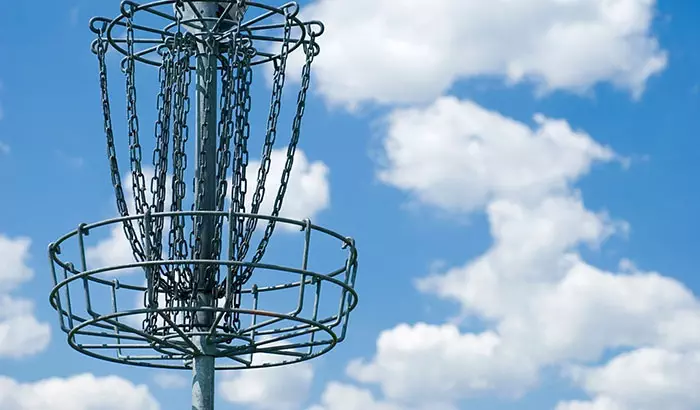
There are three main parts to every disc golf basket. The first one is the pole and the main basket, while the second part is the chain. The last part is the frame and the lower basket. Each of these parts has different dimensions that you need to follow to fit the standard measurement of the PDGA.
Disc Golf Basket Dimensions
Basket
For a basic disc golf basket, the rim must be around 21 ⅓ inches wide, and the chain must not be lower than 22 inches below the rim. The lower basket should be 25.7 inches wide with a height of 6.7 inches. Also, a basic disc golf basket will have less the 18 chains installed.
For the standard disc golf basket, the measurement and dimensions are the same as a basic one but contains more than 18 chains. This disc golf basket also uses durable materials in its foundation.
Meanwhile, the champion-level basket is used by top-tier tournaments and approved by the PDGA. They have similar measurements and dimensions as the inferior type but use high-quality materials.
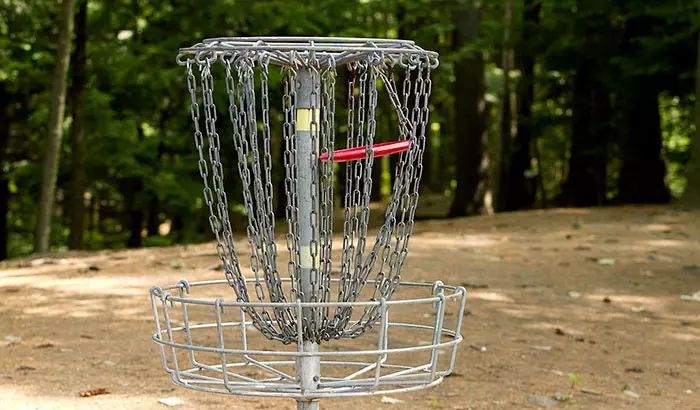
Chains
How long are the chains on a disc golf basket? As per the PDGA, the minimum chain length is 9 inches. Where you are making a DIY type, you can have the option of putting as many or a few chains as you would like. For PDGA-approved baskets, the minimum number is 12 pcs. But I have seen as high as 24 chains for a disc golf basket.
The governing body hasn’t established specific standards for chain size and thickness, leaving the choice to your discretion. Keep in mind that chain quality can significantly affect your gameplay experience. Deviating too much from the norm may alter your putting and impact your performance in tournament play.
Height
As per the PDGA, a disc golf basket should be 52 inches above the ground, and the distance from the floor to the lower basket is 25.7 inches. Although, during competition, tournament rules may change depending on the preference of the organizers. The tournament director can also add obstacles along the course if desired.
Width
The upper ring for the chains is 21.3 inches wide, while the lower basket must be at 25.7 inches. However, there are many varieties and sizes for the width, especially with the DIY type.
Weight
The PDGA does not have a standard weight for the disc golf basket but advises that the basket should weigh from 18 to 25 kilos. This action is to ensure that the foundation is stable when installed on the course.
How to Make your Own Disc Golf Basket
When making a DIY disc golf basket, you need the following materials and tools:
- 8 Round steel bar (basket and chain ring supports)
- 4 Flat steel (band for chain ring and basket)
- Conduit Bender
- 1 Metal conduit (feet)
- 1 Enamel black fence post (center post)
- Coil chain (chains for basket)
- 2 Duct clamps
- 1 Hose clamp
- Allied tube and conduit (feet)
- 1 Post cap
- 1 Net or paracord to make a net
This is the list of materials that I had used to make my basket. I’m not sharing my exact measurements so that you can choose what those are, also I didn’t make it according to the sanctioned baskets.
Step 1: Center Post Cutting and Assembly
The center post’s exact measurements are a matter of personal preference, but you can use the dimensions provided earlier in this article as a starting point. Once you have the measurements, cut the steel bars for the basket supports, the outer band, and the center post accordingly.
Step 2: Disc Golf Basket Legs Assembly and Bending
For the disc golf basket legs, the metal conduit will be cut into 4 pieces and bent using the conduit bender at 90 90-degree angle. The 4 pieces of metal conduit must fit into the bottom of the fence post once cut and bent. It will not be welded because it will allow it to rotate and adjust quickly once installed on an uneven disc golf course.
Step 3: Welding the Baskets
The goal consists of a lower basket and a chain ring, which we will attach to the center post. We will use the round steel bar and flat steel as the primary materials for both rings. We will bend the round steel bar into an ‘S’ shape to form the foundation of the structure for the top ring and the lower basket. The flat steel bar will serve as the halo ring, and we will weld it to the bent ¼-inch steel rod.
Using a MapPro Torch, the rods will be heated in some areas to make them soft and eventually bendable over as planned. I made 2 bends of 90 degrees in line with each other. Meaning that I can lay the bar flat on the ground still. One side of the “S” steel rod will be installed on the center post, while the other side will be welded with the halo ring.
Step 4: Attaching the Chains
The chain’s length will be your decision to make, but to cut it, you can use an angle grinder, hacksaw, or a Dremel tool, depending on your preference. The primary purpose of the chain is to stop the disc golf discs when they hit the goal while dropping them into the lower basket.
Make many holes on the halo ring of the upper ring, then attach the chains using the snap links. Meanwhile, the other end of the chain will be put together at the center of the post using a 5-inch hose clamp. This process aimed to make the goal appear like the real one found in the market. Meaning, that it should easily catch the disc, similar to how a commercial basket catches the disc upon reaching the basket.
Step 5: Adding the Net to the Lower Basket
I didn’t create a full cage in the lower basket, so I’ll add a net to catch discs and prevent them from hitting the ground. While you could weld a metal grate, it’s more time-consuming and uses extra material. The simpler option is to use a small cargo net.
“Opting for the small cargo net offers the advantages of affordability and easy installation. Simply cut and adjust the net to fit the lower basket, trimming any excess and securing it with zip ties.”
Step 6: Test it Outside
After the assembly process, the next thing is to test the finished product outside. You should note different factors that might affect your throws, such as the stability of the basket and its ability to catch the disc. Once you notice what things that need improvement, then you can adjust accordingly. If you feel that the legs are not providing a good foundation, you can always detach and adapt to their bending angle.
“If it seems a bit unstable, you can make ongoing adjustments and add more welding. In my experience, the DIY disc golf basket is sufficiently stable for catching discs and stays secure. Notably, its legs can flex and adapt to different types of terrain, ensuring stability.”
Conclusion
Learning how to build a disc gold basket is a fun skill to have as a disc golfer. The best thing about making your own is that you will have the satisfaction of building something yourself.
“You can enhance your putting and throwing skills at home if you build a practice setup in your backyard. Consistent practice is key to elevating your disc golf game.”