Last updated on September 18th, 2023 at 12:23 am
Last updated by Maredith Damasco
So you’re a do-it-yourselfer. You like to do things yourself. If you want to make your own disc golf disc, then how do you do it? In this article, we will discuss several ways in which you can make your own disc golf disc.
No matter which method you employ to create your own disc golf disc, the initial step involves developing a golf disc design.
Designing Disc Golf Discs
Designing golf discs involves several considerations. An effective disc design approach is to reference existing disc dimensions on the PDGA website.
By making a few minor changes to the disc dimensions of existing discs, you can have a drastically different flying disc, according to the characteristics you are looking for.
For instance, to enhance stability in a putter you like, consider adding a rim bead. To make a disc more controllable, lower its parting line to increase the airflow above it during flight.
To make a disc more overstable, raise the parting line and flatten the dome so that more air flows under the disc.
Ways to make your own Disc.
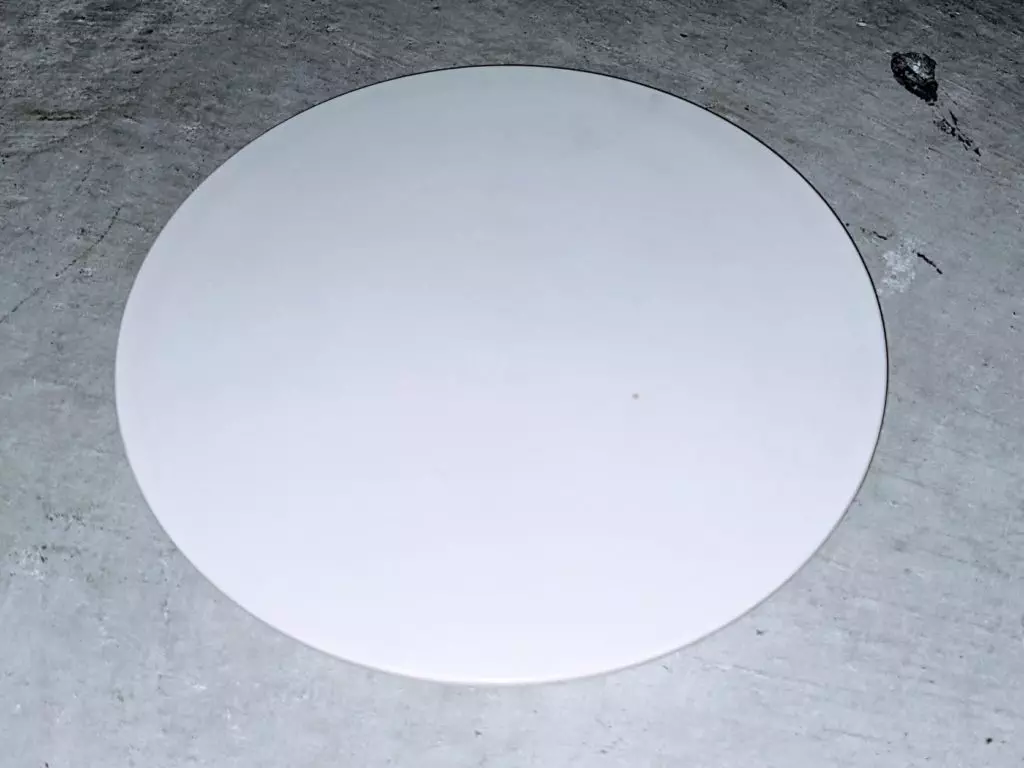
Wooden Disc
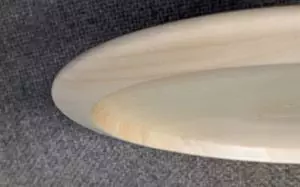 The easiest and most accessible way for do-it-yourselfers to make their own disc golf discs is out of wood.
Use a 9x9x1-inch wood block, a lathe or carving knife, and sandpaper to sculpt your custom disc to perfection.
Wooden discs look fantastic but are very stiff and can break on impact. Depending on the type of wood you use, wooden discs will likely be much lighter than traditional plastic discs.
3D Printed Disc
Another way you can make your own golf disc at home is with a 3D printer. The problem with 3D printed discs is that 3D printer filament is pretty expensive and the plastic quality will be substantially stiffer than most traditional golf discs.
Even if you intend to mass-produce discs, using a 3D-printed prototype is an excellent way to test your design. Many contemporary disc manufacturers create 3D-printed prototypes to ensure the desired look and feel before proceeding with the Injection Mold.
Injection Mold
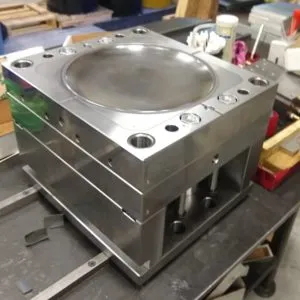 If you can access an injection mold machine, it’s the ideal method for crafting golf discs, especially for mass production. A critical aspect of injection molding discs is the requirement for a substantial machine, typically at least 1500 tons.
The big disadvantage of designing a disc for an injection mold is the cost of the Mold. The cost for a disc mold in the US will generally be between $15,000 and $30,000. If you search overseas, you can find golf disc molds priced between $4,000 and $10,000, but shipping these large molds will also involve hundreds of dollars in costs, and delivery may take months.
Selecting Plastics
Once the injection mold is made, choosing the best plastics for your disc is the next step. Disc golf discs are primarily made from TPU and TPE plastic blends. Then, different additives are included on these discs to make different flexibilities and visual effects.
PDGA Approval
So you’ve done it, you’ve created a disc golf disc. Can you throw it?
Recreationally, you can throw any object you like, but for a disc to qualify for tournament play, it must adhere to PDGA guidelines. The PDGA tests the disc size, weight, flexibility, rim depth, and sharpness to ensure that it is safe and meets its standards for PDGA tournament play. Wood and most 3D-printed discs will not pass the flexibility requirements.
In order to submit a disc for PDGA approval you must first have a valid business, brand, and contact information. You then pay a $300 fee to the PDGA for approval and send 3 of your discs to the PDGA’s testing facilities in Arizona. This approval process generally takes 1-2 weeks. If your disc meets all of the PDGA requirements, your disc will be listed in the PDGA directory.